Utility anchors play a key role in lifting, handling, and positioning concrete elements. Pick the wrong size, and things can go south fast—think structural failures or safety risks on the job site.
Stick to industry-recognized standards and common scenarios to get it right. Industry guidelines and manufacturer specifications—such as those provided by BAOQI—offer helpful reference points when selecting anchor sizes.
Utility Anchor Ratings and Load Requirements
Safe Working Load (SWL) and Safety Factors
Safe Working Load, or SWL, sets the limit on what an anchor can handle safely. These ratings go up to 24,000 lbs for heavy-duty needs. Safety factors kick in here, like the common 3:1 ratio, which means the anchor’s breaking strength is three times the SWL. It builds in a buffer against unexpected stresses.
Higher safety margins apply in certain cases. For pulling applications, where forces pull straight out, a 4:1 or even 5:1 factor might be necessary. This extra caution prevents accidents during tricky lifts. Jobsites vary, so always check the specifics.
Key Factors Affecting Load Selection
Concrete element weight tops the list. Heavier pieces demand anchors with higher SWL ratings. Simple math: divide the total weight by the number of anchors.
Concrete strength at stripping matters too. Fresh concrete might not have full compressive strength yet, so anchors need to account for that weakness. Lifts right after pouring? Factor in lower strength values.
Lifting angle and geometry change everything. A straight vertical lift is straightforward, but angled pulls increase tension. Use more anchors or bigger sizes for slanted setups.
Number of anchors used spreads the load. Two anchors might handle what one can’t. Balance them evenly to avoid overload on any single point. It’s all about distribution.
Utility Anchor Size Guide: Dimensions and Applications
Overview of Common Utility Anchor Sizes
Common utility anchors come in various sizes, each with specific dimensions that affect fit and performance. Here’s a quick chart to break it down:
| Size Code | A (mm) | B (mm) | C (mm) |
|---|---|---|---|
| 4-444 | 133 | 80 | 11.6 |
| 5-444 | 152 | 95 | 11.6 |
| 6-444 | 182 | 120 | 11.6 |
| 4-671 | 137 | 90 | 16.6 |
| 5-671 | 163 | 95 | 16.6 |
| 6-671 | 192 | 120 | 16.6 |
| 8-671 | 250 | 171 | 16.6 |
| 10-671 | 311 | 222 | 16.6 |
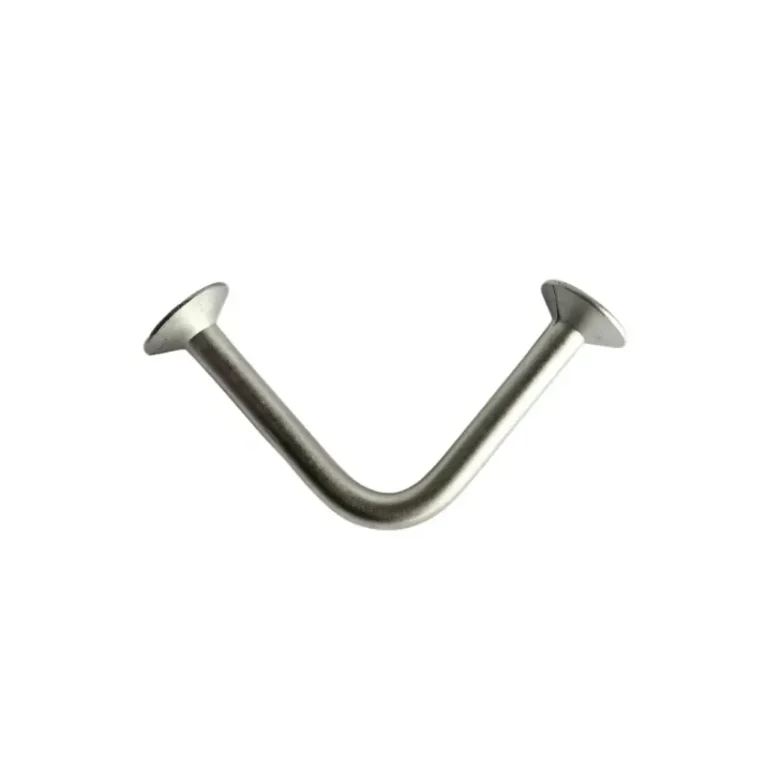
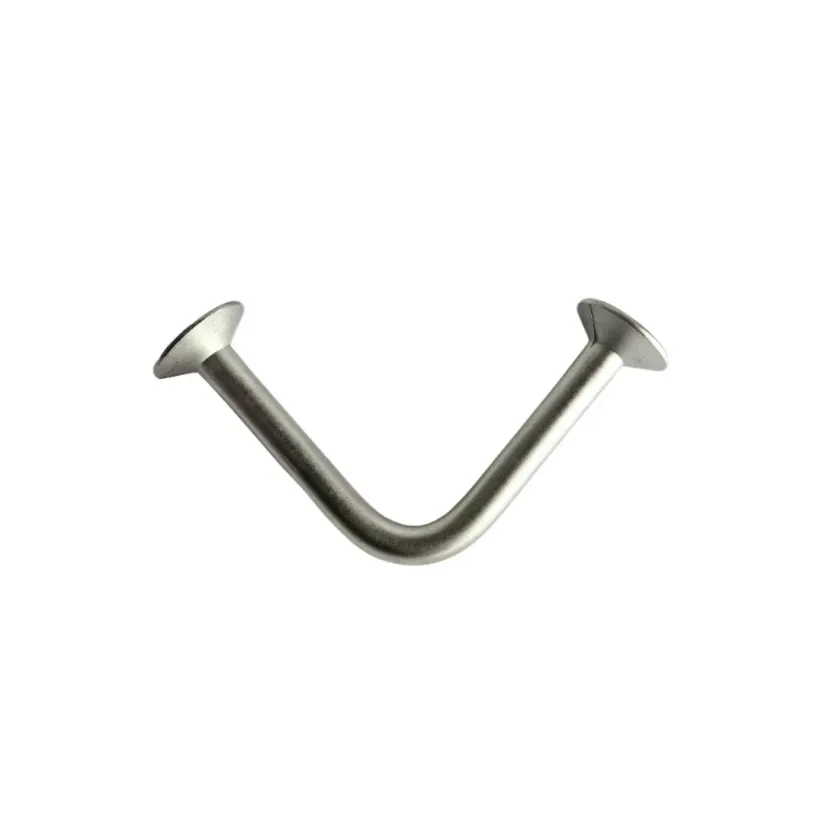
Dimension A covers the overall length, B handles the width for embedment, and C deals with the diameter for strength. These measurements ensure the anchor fits the formwork and handles the load without issues.
Pick based on the job. Smaller codes like 4-444 suit lighter tasks, while bigger ones like 10-671 tackle massive elements. Measure twice to avoid mismatches.
Matching Anchor Size to Concrete Element Type
Modular precast components often need compact anchors. Think barriers or small blocks—sizes like 4-444 or 5-444 work well here, easy to install in tight spaces.
Utility vaults and boxes require sturdier options. These structures carry weight and need deep holds, so go for 6-671 or larger to manage the bulk.
Panels, slabs, or pipe products vary widely. Flat panels might use mid-range sizes for even distribution, but pipes with curves could demand custom fits. Match the anchor to the shape for best results.
Real-World Use Cases
Sometimes a smaller anchor does the trick for routine lifts, like moving standard slabs in a yard. Saves material and time. But for oversized vaults, bump up to larger sizes to handle the extra weight without strain.
Heavy lifting calls for bigger anchors every time. Deep embedment helps too, especially in high-stress scenarios. In many precast yards, specifications similar to those used by BAOQI help teams quickly match anchor sizes with element geometry.
And yeah, overlooking embedment can lead to weak points. Stick to proven sizes for peace of mind.
Installation Considerations That Influence Anchor Size
Anchor Embedment Depth
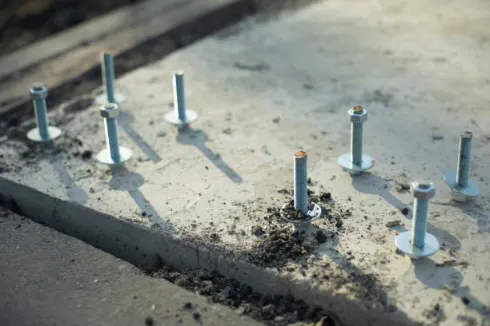
Embedment depth directly boosts performance. Deeper placement means better grip in the concrete, allowing higher loads. Shallow embeds risk pull-out failures.
Refer to typical embedment charts for guidance. For a 6-671 anchor, aim for at least 120 mm depth in standard concrete. Adjust based on material strength—weaker mixes need more depth.
Deeper embeds also spread forces better. But watch the formwork limits; too deep, and it complicates removal.
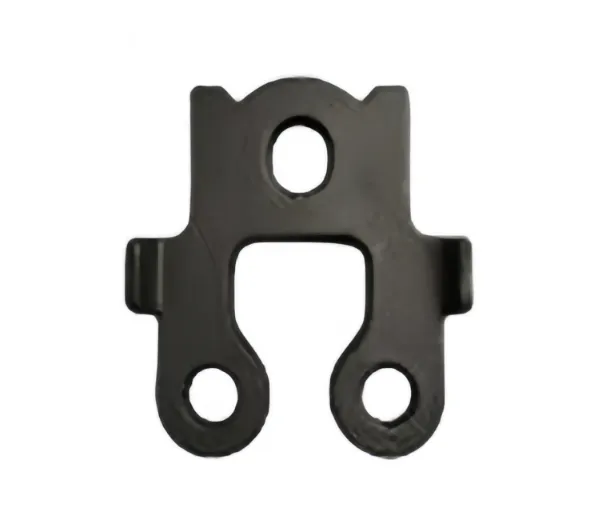
Recess Plug Selection (45° vs. 90°)
Reusable polyurethane plugs make installation smoother. Choose 45° for angled access, ideal in crowded forms. 90° plugs suit straight-on lifts, simpler for basic setups.
Alignment is crucial. Misaligned plugs lead to awkward hooks or weak seals. Test fit before pouring to ensure accessibility during lifts.
These plugs protect the anchor recess from debris. Swap them out as needed to maintain quality.
Avoiding Through-Hole Designs
Through-hole designs invite problems. They weaken the concrete and allow leaks, compromising integrity.
Sealed anchor points seal better. They keep moisture out and maintain a clean surface finish. Structural strength stays intact without extra patches.
Opt for sealed systems in wet environments. Better finish means less rework later on.
Practical Steps to Selecting the Right Anchor Size
Step-by-Step Process
- Determine total weight of the precast element. Weigh it accurately or calculate from dimensions and density.
- Define lifting configuration (number of lift points). Sketch the setup to visualize load paths.
- Select SWL based on load distribution. Divide weight by points, then apply safety factors.
- Match anchor type and size. Cross-reference with charts like the one above.
- Verify installation compatibility with forms. Check depths and alignments early.
- Confirm safety factors. Double-check against job specifics, like angles or pulls.
Follow these, and selections become routine. Skip one, though, and risks pile up.
Recommended Tools & Reference Resources
Load charts provide quick SWL lookups. Keep them handy for on-site decisions. Engineering tables detail dimensions and capacities. Use them to fine-tune choices. QC checklists ensure nothing slips through. Run through them before final approval.
Technical datasheets—such as those provided by BAOQI—can support engineers in verifying anchor size selections before production. Print copies for the team.
Common Mistakes to Avoid When Choosing Anchor Sizes
Assuming size is based only on weight overlooks other factors. Weight matters, but so does distribution. Ignoring lifting angle effects amps up tension unexpectedly. Angles over 30°? Recalculate loads.
Using mismatched plugs or poor recess placement causes access issues. Plugs must fit the anchor perfectly. Forgetting concrete cure strength at the time of lift weakens holds. Wait for proper curing or adjust sizes.
These slip-ups happen more than you’d think, especially on tight deadlines. A quick review catches most.
Making Anchor Size Selection Safe and Efficient
Key criteria boil down to weight, configuration, and safety factors. Get these right for reliable lifts.
Consistent guidelines keep teams aligned. Technical references fill in gaps, and training sharpens skills.
Consult detailed specification sheets and engineering support when needed. It turns complex choices into straightforward ones. Safe practices pay off in the long run.
FAQ
Q: How do I know which utility anchor size to pick?
Start with the total weight of the concrete piece, divide by the number of lifting points, add the safety factor (usually 3:1), then match it to the SWL in the size chart.
Q: Can I use a smaller anchor to save money?
Only if the load calculations and safety factors allow it. Using one that’s too small is one of the fastest ways to cause a failure or accident.
Q: Does the lifting angle really matter that much?
Yes. Anything over 30° increases the tension on each anchor. The steeper the angle, the bigger size or more anchors you need.
Q: What’s the difference between 45° and 90° recess plugs?
45° plugs are easier to hook when space is tight or the lift is at an angle. 90° plugs work best for straight vertical lifts and simpler forms.
Q: When do I need a higher safety factor than 3:1?
Usually for straight pulling (like stripping from forms) or when the concrete hasn’t reached full strength yet. Many plants switch to 4:1 or 5:1 in those cases.